You have found a lovely old pattern. The number on the envelope looks unfamiliar. Before you decide it is too big or too small, separate three things: your measurements, the pattern’s sizing chart, and the room designed into the finished garment.
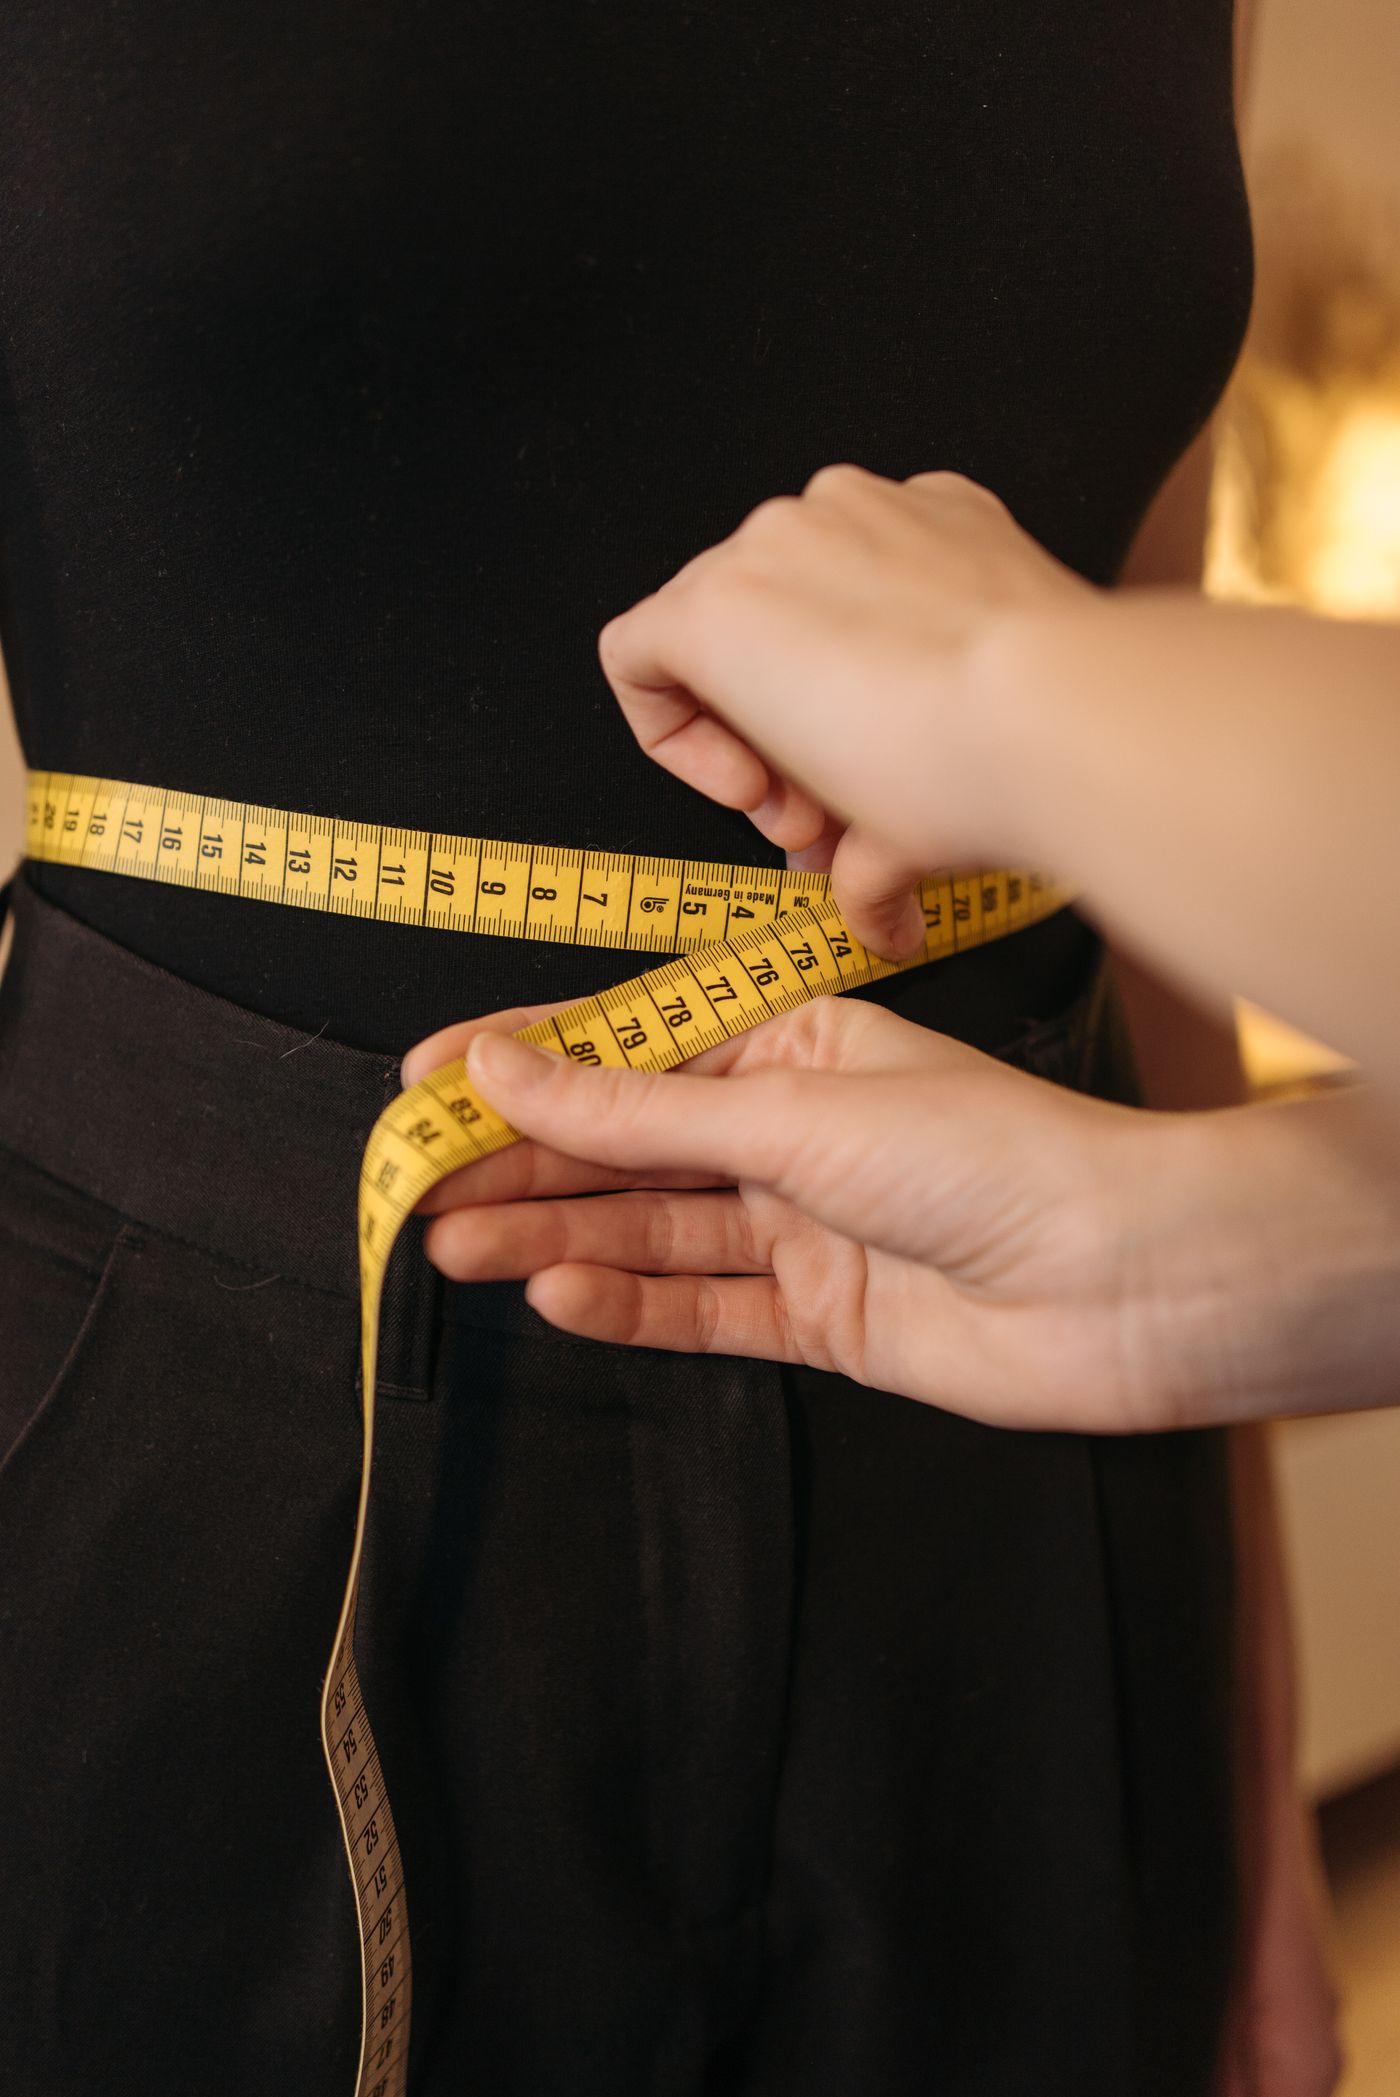
1. Read the chart that belongs to this pattern
Start with current body measurements and the chart on this particular envelope or instruction sheet. A familiar ready-to-wear size is not a reliable substitute. Vintage patterns can come from different sizing systems, so treat each new pattern as a fresh comparison.
Write your bust, waist and hip measurements beside the chart. Note where you fall between sizes rather than rounding every measurement to the same size. Also check that the size you need is actually included in the envelope you are buying.
2. Understand what ease is doing
Body measurements describe the person. Finished measurements describe the garment. Their difference is called ease. Some room lets you move; additional room may be part of the silhouette. For this exercise, start with a woven garment and follow its own fit guidance; do not transfer an ease allowance to a different fabric or design.
A hypothetical garment has a finished bust of 100 cm. Your bust measures 94 cm. That leaves 6 cm of ease. This calculation describes room, not a guarantee of good fit.
Compare the intended shape with a similar garment you enjoy wearing. Changing sizes also changes shoulders, sleeves and other dimensions; it is not simply a way to change the circumference.
3. Turn the comparison into one fit question
Make a short comparison sheet: the body measurement, the corresponding pattern measurement and the ease you expect. Compare at seam lines, excluding seam allowances. A missing measurement is a reason to pause and check the instructions, not to guess.
Choose one question to resolve first: is the shoulder too wide, or is the waist too tight? An adjustment in one area can affect adjoining pieces. New Mexico State University’s alteration guide illustrates these relationships; follow the relevant instructions and recheck matching seams before cutting your good fabric.
Put a question mark next to any measurement you cannot confidently interpret. Write down the exact pattern piece and location so you can ask a precise fitting question.
Try this with your next cup
Write down your starting chart size, one finished measurement you have verified, and one fit question. If a measurement is missing, consult the instructions or seek help measuring at the seam lines. Keep your notes with this pattern for next time.
Worth reading next
Explore the free educational references below for more detail. The planning exercises are our own; each reference includes a note about what it helps you learn.
- New Mexico State University — Selecting a Pattern Size for Perfect Fit (free PDF) ↗
Measurement diagrams and a record sheet. Use the chart supplied with your own pattern; historical size categories are not universal.
- New Mexico State University — Pattern Alteration (free PDF) ↗
A reference for comparing measurements plus ease and understanding local fit adjustments. Suggested ease ranges are examples, not rules for every fabric.
Bring your own experience to the table.
What did you learn from trying this? Share your work in progress and tag @patternlibraryco. Small discoveries count.
Browse the journal →